
I’ve said it before and I’ll say it again. I’m a procrastinator, okay. I work best under pressure, or at least I finally get something done under pressure. I’m not entirely sure about the quality of the outcome, but I at least produce something. So, in order to finally get this striped gown done that I’ve talked about for ages, I had to have a Jane Austen Society event to dress up for in 5 days! The event was a tea at one of our favorite tea houses, Miss Spenser’s, and a discussion of “Pride and Prejudice”.
This dress was intended to be just another bib front gown made with the pattern I purchased from The Hungarian Chick. However, when I started looking at the skirt, I realized I did not have enough fabric to do a full skirt. It was going to have to be an open robe. But wait, I already had the bodice front and back done for the bib front gown. I had to come up with a way to create a mash-up of the two. Here is the final product. I will get into the pieces and parts after.
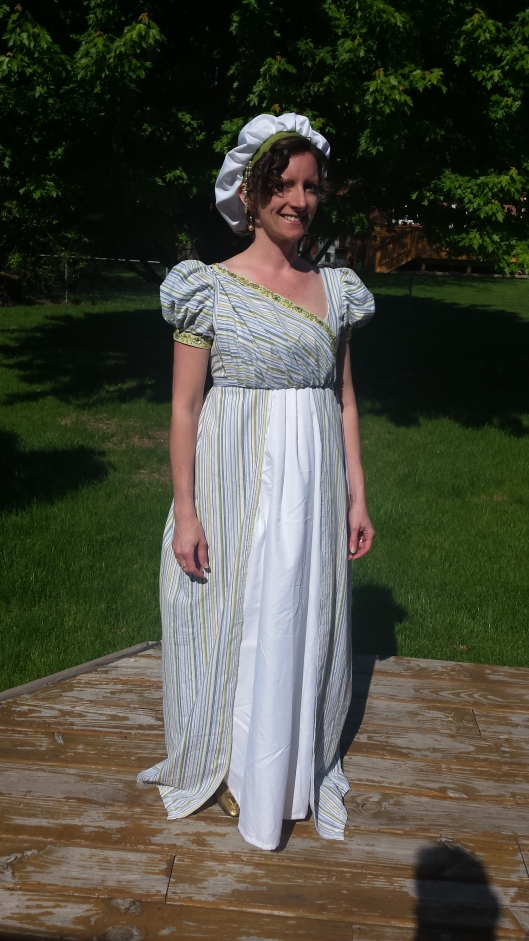
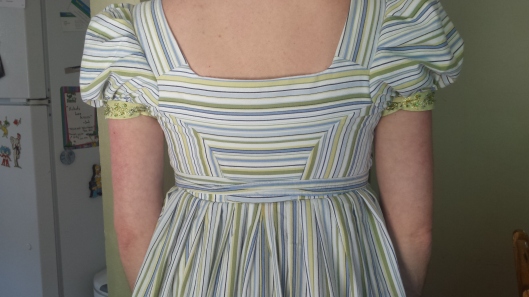
I think you can see my subtle nod to the Grecian look with this bib bodice. As this was ultimately an experimental piece largely of my own design and done under the pressure of a deadline, I was pretty pleased with how it all turned out. Now for the nitty-gritty details.
Like I said, instead of making this a full skirt as the pattern indicates, I had to conserve fabric and turn it into an open robe. That part is simple and straight forward enough I think. I simply chose a good spot to start the attachment to the bodice and went from there.
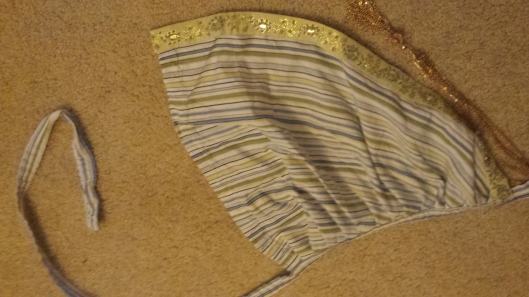
Here’s a look at the bodice front without the bib pinned up. You can see where the bib is tied in front. Generally with a bib front gown, you attach the bib and the tie to the front part of the skirt. As this was an open robe, there was no front to the skirt. I went through all kinds of scenarios in my mind (mostly in the dead of the night while I lie in bed awake) on how and where to attach the bib. Finally, I decided I wouldn’t attach it to anything. So the bib is simply attached to a tape like so. It is not attached to the dress at all. The added benefit to this is that I can later make a different bib style to go on this dress if I want to.
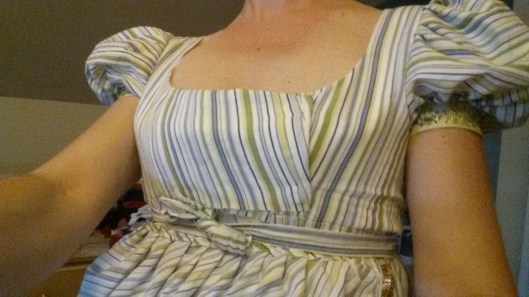
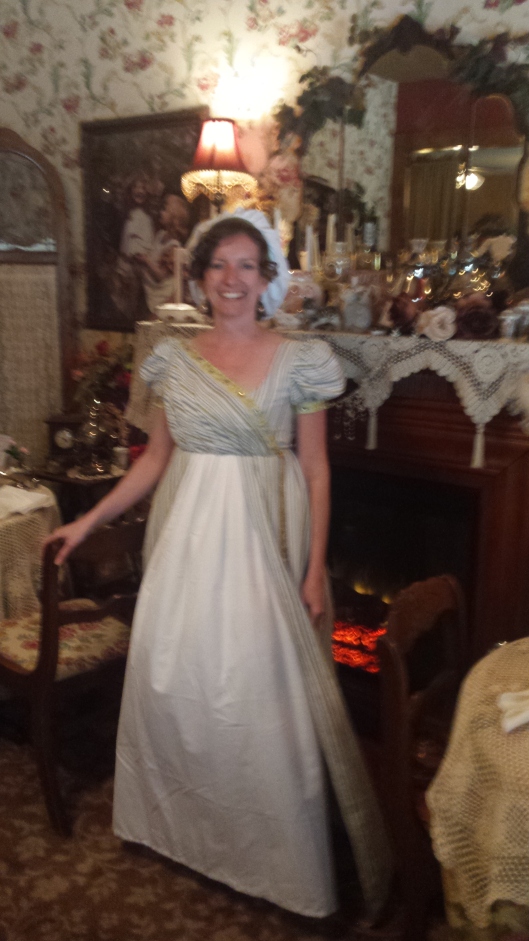
So, I just wrapped it around my empire waist and tied it in front so the tie would be under the bib. I then pinned the top corner at the shoulder. The final effect looked like this.
The under dress here is simply a petticoat I made from a sheet, nothing special. I used some of the fabric left over from the petticoat to make the hat I am wearing as well. Again, this striped fabric was originally a fitted sheet, so I used the existing finished edges wherever possible at the hem, etc. to make my life as easy as possible. I was a little worried about working with stripes; getting things lined up and whatnot. Eventually I just decided I didn’t care and just went for it. I think it all worked out fine in the end.
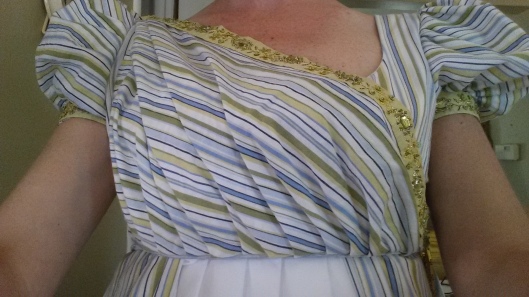
As usual, to distract from my less-than-perfect seamstress skills, I added embellishments and accessories to the gown.

The chain hanging from my waist is simply a necklace from a thrift store that I attached to the bib.
Here is a pic from the location where we had tea yesterday. I’m laughing because there was a vent somewhere giving my dress a bit of a Marilyn Monroe effect. Sorry for the quality of the picture. The lighting is not photo conducive in this spot.
So that’s the end of the striped gown. Like I said, I was very pleased with how it all turned out considering all the maneuvering that went on during its conception.
Now for my next project. In July, our JASNA Iowa Region will be holding a Box Hill picnic. I intend to have a new ensemble for that event. I’ll be using the floral fabric my aunt bought for me at a thrift store for the gown. The green table cloth I bought at Goodwill will become a true open robe. I’ll use the green placemat and the blue satin to create a bonnet. And those little flowers will be incorporated somewhere along the way.
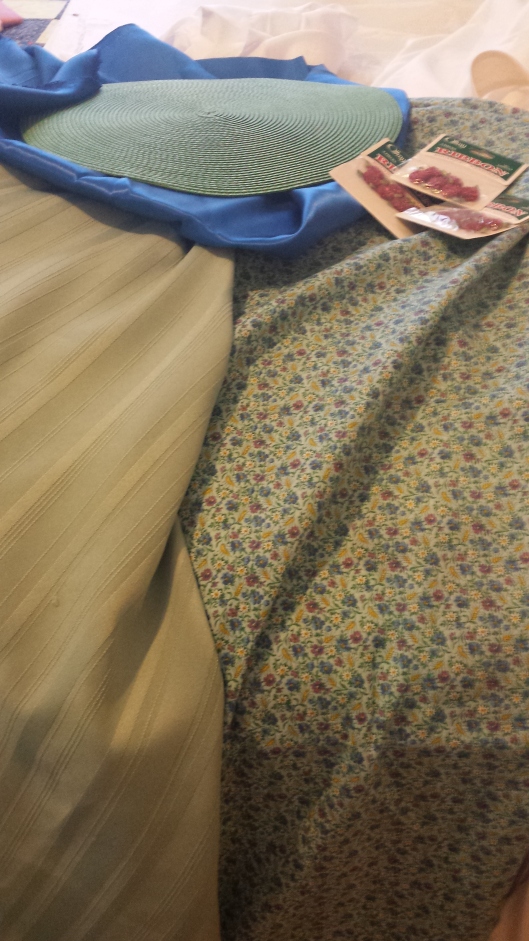
I have over 2 months to get this project completed. My goal is not to leave it until 5 days before the event as I did this last one. Here’s hoping I find some motivation in the coming weeks.
