
I’m still trying to make up for several months of silence and will be for a couple more posts at least before I start on my next project. Today I will take a departure from my own costumes to show you one that I made for my son for Halloween last year. My mother always made my Halloween costumes and I have continued that tradition with my own child. Each year he tells us what he wants to be for Halloween and we figure out how to make it happen. In 2018, Jack wanted to be a Roman soldier; so be it.
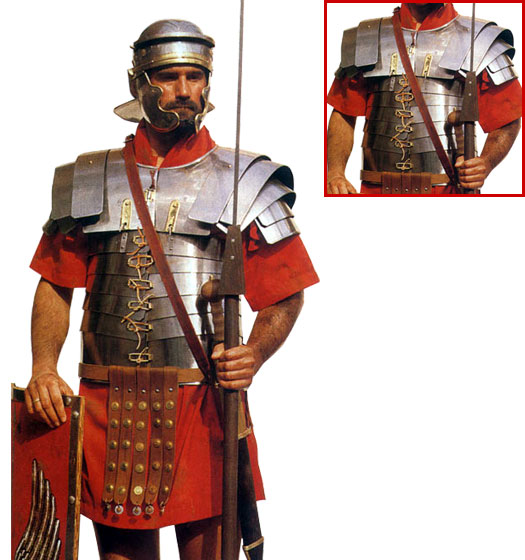
We started with a few Google image searches for the basis. This is where our pattern started.
And the shield:
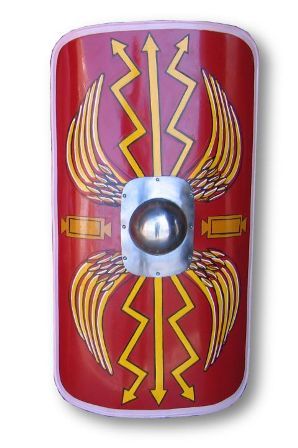
I kind of cheated on the shield. I printed out a photo onto 4 separate pieces of 11″ x 17″ paper and we glued it to a large piece of cardboard that we cut and formed in the correct shape. We then Mod Podged over it to seal it and attached handles to the back of it.
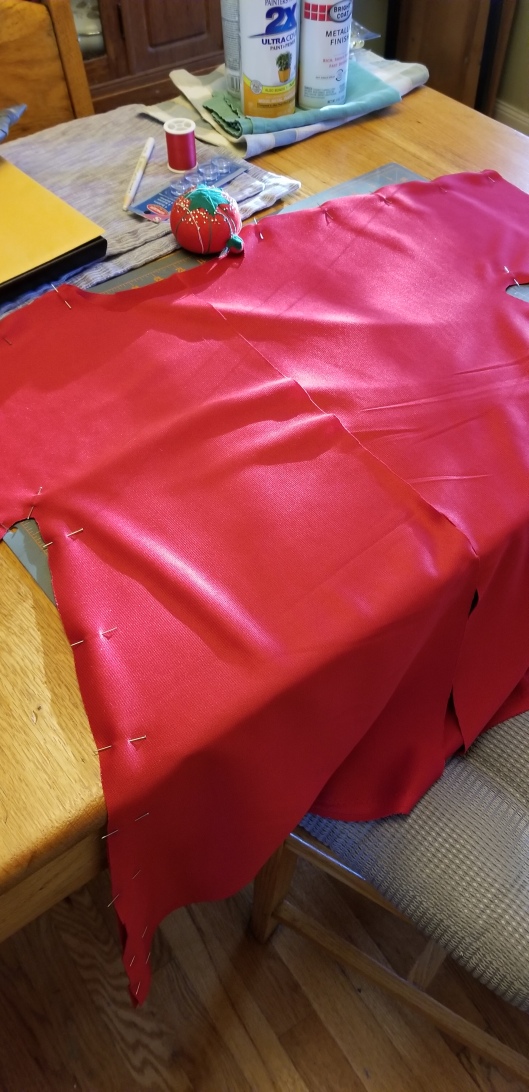
Probably the next easiest item on the list was the red tunic that is the base layer of the costume. I bought some heavy red knit fabric on sale at Jo Ann’s. I used a cloke pattern I had used the previous year for his costume, shortened it, closed it up the front and left off the hood. It came together very quickly.
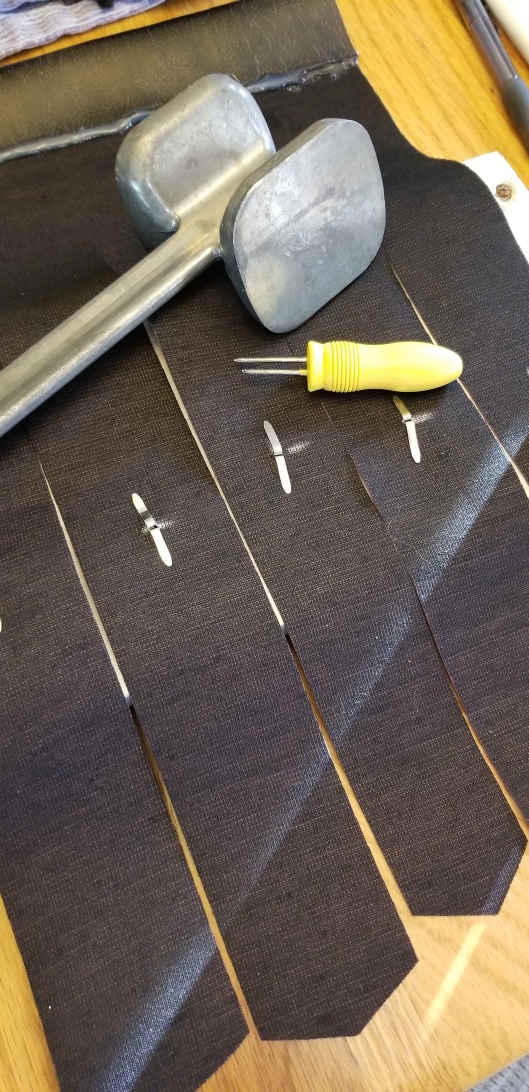
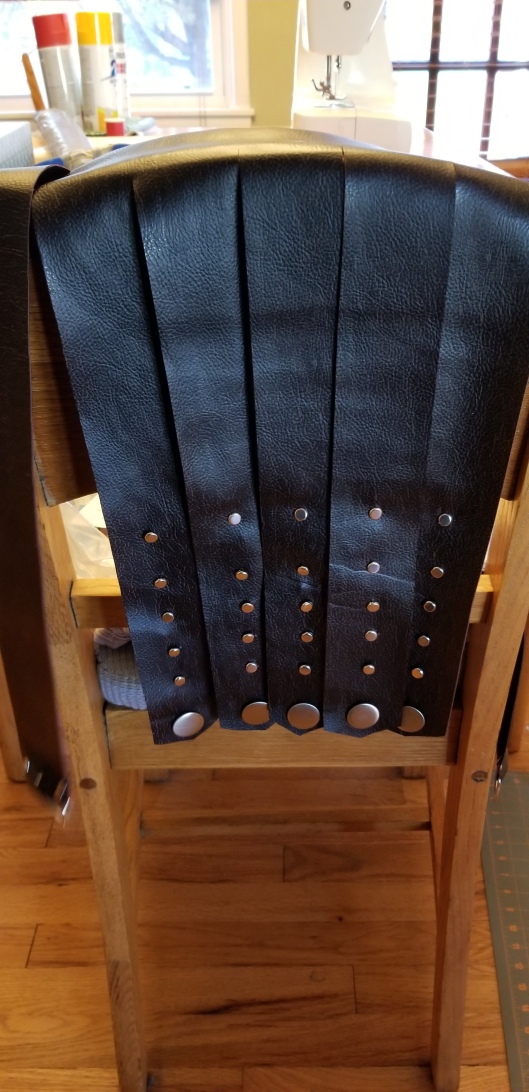
This was the only portion of the costume that had any kind of pattern to go by. The leather bits were created free hand with faux leather also bought at Jo Ann’s. For the pseudo-loin cloth in the front, I cut a rectangle of the vinyl, measured out the strips, cutting them up to about 3 inches from the top of the rectangle, then made the cuts at the bottom to create points on each strip. The 3 inches at the top were folded over one of my son’s belts and hot glued to itself to create a pocket to put the belt through. I punched a hole in the bottom of each strip, pushed a button through each hole and secured. And yes, I used a meat tenderizer and a corn cob holder to make the holes 😉
These little paper fasteners were instrumental in a number of ways to this project. In this instance, they are purely ornamental.
Jack would also need a sword and scabbard of some kind as an accessory. We spray painted and duct taped a foam sword he already had. I fashioned a sheath for it out of some left over pieces of poster board and vinyl and added some random trim I had for decoration. A long strip of vinyl with two shower curtain rings attached to each end was then attached to the sheath and the sword slid through. Lots of hot gluing was required.

One of Jack’s old baseball caps became the base for his helmet. We spray painted it silver and added silver and gold metallic poster board embellishments. I thought I had a picture of the helmet on its own, but can’t seem to locate it so you’ll just have to wait to see the full costume.
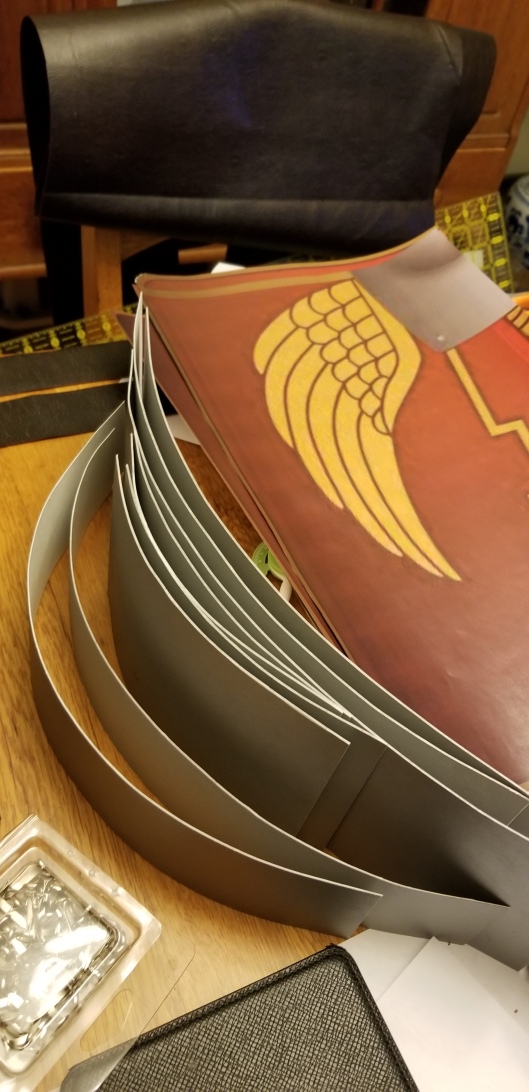
So I saved the hardest part of the costume for last, which I also did when I was making it. I really wasn’t sure at first where to start on the armor. It was clear from our internet research that it couldn’t just be one sheet of carboard to look like armor. It had to be several pieces attached together in order to be accurate. In the photo it kind of reminds me of football pads, so that is what I was kind of thinking of as I contemplated it. Eventually I decided that a double layer of poster board glued together and cut into strips was the place to start. I used plain white for the inside layer and silver metallic for the “metal” armor exterior layer.
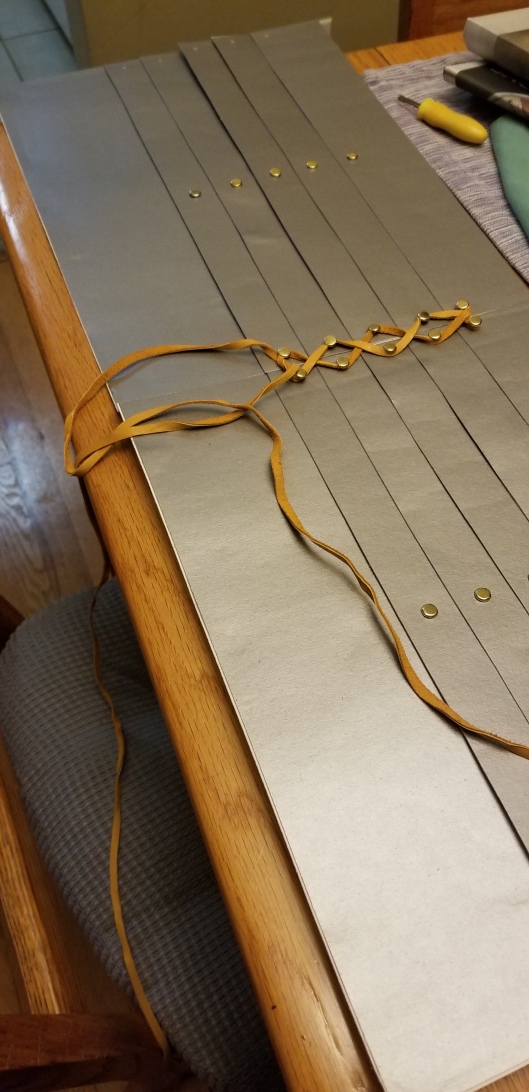
Here the paper fasteners come in handy for their structural use rather than just decorative, as the fasteners are what held all the strips together. I put a fastener in every few inches to make sure the pieces held together well. I also used them as the means to lace the front together with a leather cord.
This design and execution was not perfect, but for the 3 times my son wore the costume, the armor worked well enough and although it didn’t function perfectly, it did look really good. The “shoulder pads” went together in the same way and then were attached to the chest plate using strips of vinyl and more paper fasteners.
So here is the final result, all put together and on my son.


As it was October in Iowa, he elected to wear pants and shoes rather than go bare legged and wear sandals. I approved of his decision 🙂 He happened to have a pair of pants from an old costume that had shoe covers on them which he wore to try to hide his tennies, though you can see from the photos they weren’t wholly successful.
All in all, I was very pleased with the finished product. It was at times a frustrating project, but I found it very rewarding to create the pieces all on my own and overcome problems that arose along the way. I only wish I had more photo evidence of the construction process. I swore I took more photos than this, but I cannot find them. It could possibly have something to do with the fact that there have been so many months in between.
Now, I suppose I should find out what he wants to be for Halloween this year. October will be here soon so I may need to get started.
